Tutorial: zip collar
Collar tutorial with a zip
Hello couponettes! Today we offer you a tutorial to sew a nice pass with a zip, this is the essential for this summer! To put below your coat! This tutorial requires 50 cm of fabric, we have chosen a ribbed caterpillar but you can use any stitch!
Supplies :
● 50 cm of Chopped caterpillar
● scissors
● chalk
● zipper
● pin
● sewing machine
● Wire matching your fabric
Steps :
Make the boss
1- To make the pattern of your collar, you will make a rectangle 40 cm wide and 32 cm high, then for the collar add a square of 10 cm by 10 cm. Draw with pins or a tailor chalk, the dimensions of your sweater according to the diagram.
2- Once this shape has been drawn, add the sewing margins of 1cm all around. Cut 2 times

3- You get your two sides that you are going to overwhelm or use the zigzag point of your machine all around so that the fabric does not decide.


4- Assemble your two parts on the basis, sew the collar and shoulder at the edge of the edge.

5- Once assembled, you will hear the sides and the bottom of your sweater.


Place the closure

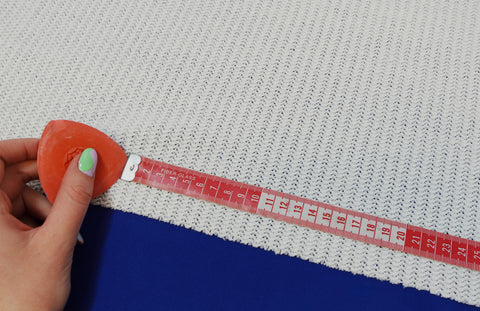
6- Measure the length of your closure and postpone this measurement to the front of the collar.

7- Cut the measurement taken previously to the scissors
8- Place your closure for the place of your sweater. Set up the pressing foot for closing on your sewing machine. Do not sew too close to your closure otherwise it will not be visible.


Finish the collar
9- Finally, hem at the top of your collar
Well done ! You managed to make a collar with a nice zip! Perfect to put below a coat, it will be your best friend of the fall :) Do not hesitate to mention us on Instagram with the #lesouponsdesaintpierre and @lesouponsdesaintpierre
See you soon :)))


