Accessoires
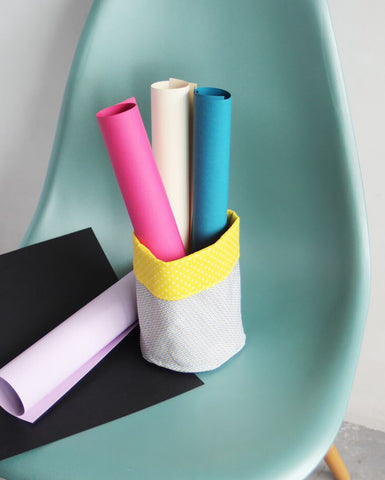
My vacuum pocket
Right now I have a big problem. I don't stop losing my keys. I change jackets regularly and every morning I have to spend 10 minutes looking for my keys everywhere. So I decided it was time to take measurements and make a nice vacuum pocket. Customizable from A to Z and Economy This vacuum pocket will be perfect as the first sewing project for new seamstresses!
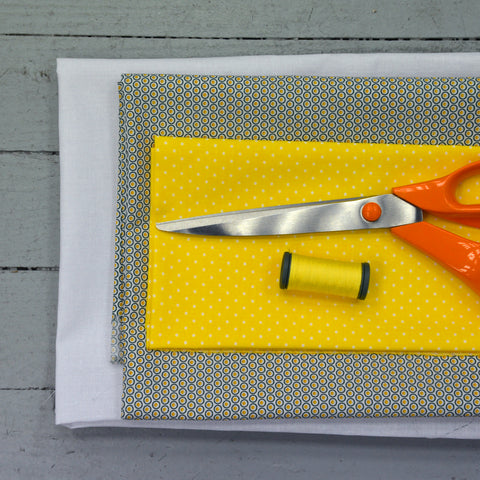
Supplies :
- 2 Patchwork coupons Different prints
- 50 cm of firm thermocollage
- A wire reel matching
- A pair of scissors
- A Craie tailor
- A rule / square
- A pin box
- A sewing machine
- Iron
Step 1: Draw and cut your pieces:
- Start by cutting your pieces of fabric and thermocollant following the diagram below.
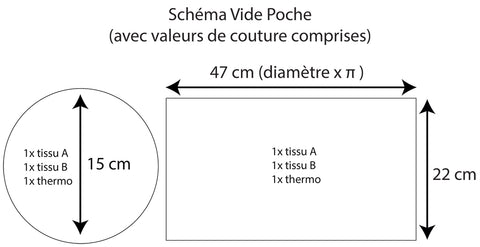
- You should end up with 2 pieces of outdoor fabric, 2 pieces of the inner fabric and 2 pieces of thermocollant.
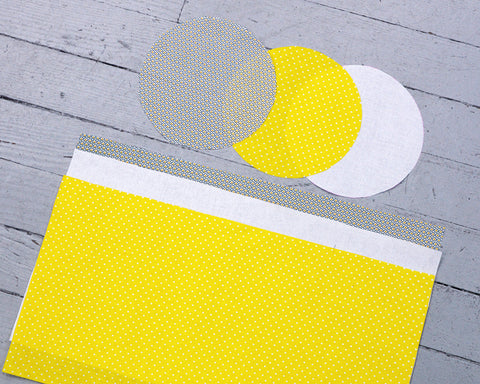
- Support the piece of fabric that will become the exterior of your vacuum pocket.

Step 2: Assemble your pieces:
- Start by closing your rectangles by folding the place against the place, to assemble the two small sides. Make a straight seam 1 cm from the edge.
- Then assemble the circle, which will be the bottom of your pocket vacuum, with the corresponding rectangle.

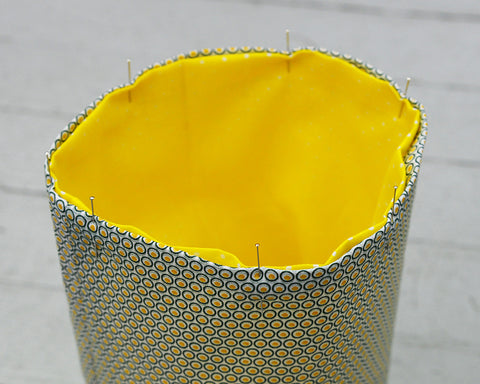
- For the next step, I first invite you to iron the top of your 2 rectangles, in order to obtain a small 1cm hem.
- Now place your "lining" inside the outside of the vacuum pocket, right backwards. All you have to do is close everything with a right rib sting all over your vacuum pocket.
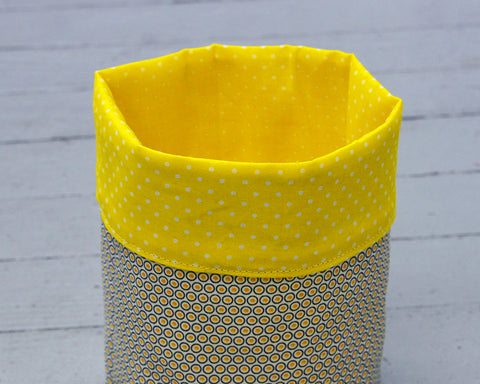
Step 3: Finishes:
- For the finishes, simply fold the inside to the outside to create a flap that will first show the inner fabric, but also to create more stability.
Now you will no longer have an excuse when you lose your keys. If you plan to carry out this tutorial, do not hesitate to share it with us on social networks with the hashtag #lesouponsdesaintpierre!